Installing a smart thermostat is a great way to improve your home’s energy efficiency and potentially lower utility bills. The process is quite simple if you’re wondering how to install a smart thermostat.
First, turn off your thermostat and HVAC system to avoid electrical issues. Next, remove your old thermostat from the wall and note the wiring connections. Labeling each wire with the corresponding letter on your old thermostat is important to ensure a smooth installation process.
Once the old thermostat is removed, you can mount the baseplate for the new smart thermostat and reconnect the wires. Afterward, attach the smart thermostat onto the baseplate, apply power, and follow the setup instructions provided by the manufacturer. Congratulations, you have successfully installed your smart thermostat!
Choose the Right Smart Thermostat for Your Home
Before installing a smart thermostat, ensuring you have the right thermostat for your home is important. However, with many options available on the market, it can be overwhelming to choose the right one. Here are a few key factors to consider when selecting a smart thermostat for your home.
Compatibility
The first and foremost factor to consider is compatibility with your home’s HVAC system. Some smart thermostats are only compatible with certain systems, such as single- or multi-stage heating or cooling systems or heat pumps. Be sure to check the manufacturer’s website or consult a professional to ensure compatibility before purchasing.
Features
Smart thermostats offer a wide range of features, so it’s important to determine which features are most important to you. Some popular features include:
– Voice control
– Learning capabilities
– Remote access via a smartphone app
– Integration with other smart home devices
– Energy usage tracking
Consider the features that align with your lifestyle and preferences when selecting a smart thermostat.
Design
Design is another important factor to consider when choosing a smart thermostat. Ensure the design fits your home’s decor and the display is easy to read and use. Some smart thermostats offer interchangeable faceplates to match different styles, while others offer a sleek, minimalistic design.
Cost
Smart thermostats come in a wide range of price points, so it’s important to determine your budget before purchasing. Remember that a higher price tag may come with additional features, but not all may be necessary for your home.
By considering compatibility, features, design, and cost, you can choose the right smart thermostat for your home. With the right thermostat, you can move on to the next step: installing it. Stay tuned for the next section on how to install a smart thermostat.
Remove Your Old Thermostat and Prepare for Installation
If you’re looking to upgrade your home’s thermostat and embrace the convenience and cost-effectiveness of a smart thermostat, you first need to remove the old thermostat. Here’s a step-by-step guide on removing your old thermostat and preparing to install your new smart thermostat.
1. Turn off the power to your HVAC system: Before starting the removal process, turn off the power to your HVAC system by switching off the breaker or removing the corresponding fuse. This will prevent any electrical accidents from happening during the removal and installation process.
2. Remove the thermostat cover: The thermostat cover is typically held in place by screws or clips. Use a screwdriver or a flathead tool to carefully remove the cover and set it aside.
3. Take a picture of the wiring: Take a photo of the wiring connected to the old thermostat to help you remember where each wire was connected. If your smart thermostat doesn’t have the same terminals as your old one, consult the manual for guidance.
4. Remove the mounting bracket: Using a screwdriver to remove the mounting bracket from the wall with the wires disconnected. Be gentle while removing it to prevent any damage.
5. Discard your old thermostat: Carefully dispose of it according to your local regulations once the thermostat is off the wall. If you’re unsure how to dispose of it, contact your local waste management or recycling center for guidance.
6. Patch any holes: If the old thermostat leaves holes in the wall, fill them with a filler or spackle and let it dry. Then, sand it down gently to make the wall even again.
That’s it! Now that you’ve removed your old thermostat and prepared the wall to install the new one, you’re ready for the next step: installing your new smart thermostat. Stay tuned for the next section where I will guide you on connecting the wiring and installing your new smart thermostat!
How To Install A Smart Thermostat
Installing a smart thermostat is a great way to use the latest technology for controlling your home’s HVAC system. Fortunately, with a little knowledge and a few tools, installing a smart thermostat is fairly straightforward. Here are the steps to follow to install and set up your new smart thermostat:
1. Turn off the Power: Before you begin, always turn off the power to your HVAC system. This ensures your safety and helps prevent any damage to your system during the installation.
2. Remove the Existing Thermostat: Gently remove the existing thermostat from the wall and disconnect the wires from the terminals on the back. Remember to label the wires with the labels provided with your new thermostat so you can tell which wire goes where.
3. Mount the New Thermostat: Follow the manufacturer’s instructions to mount the new thermostat on the wall. Typically, this involves using screws and a mounting plate to attach the thermostat to the wall.
4. Connect the Wires: Connect the wires from your HVAC system to the terminals on the new thermostat in the same order that they were connected to the old thermostat. Again, refer to the labels to ensure the wires are connected correctly.
5. Power Up the System: Turn the power back on to your HVAC system and test that it works correctly using your new smart thermostat. Refer to the manufacturer’s guide to properly set up the wireless connection between the thermostat and your home’s Wi-Fi.
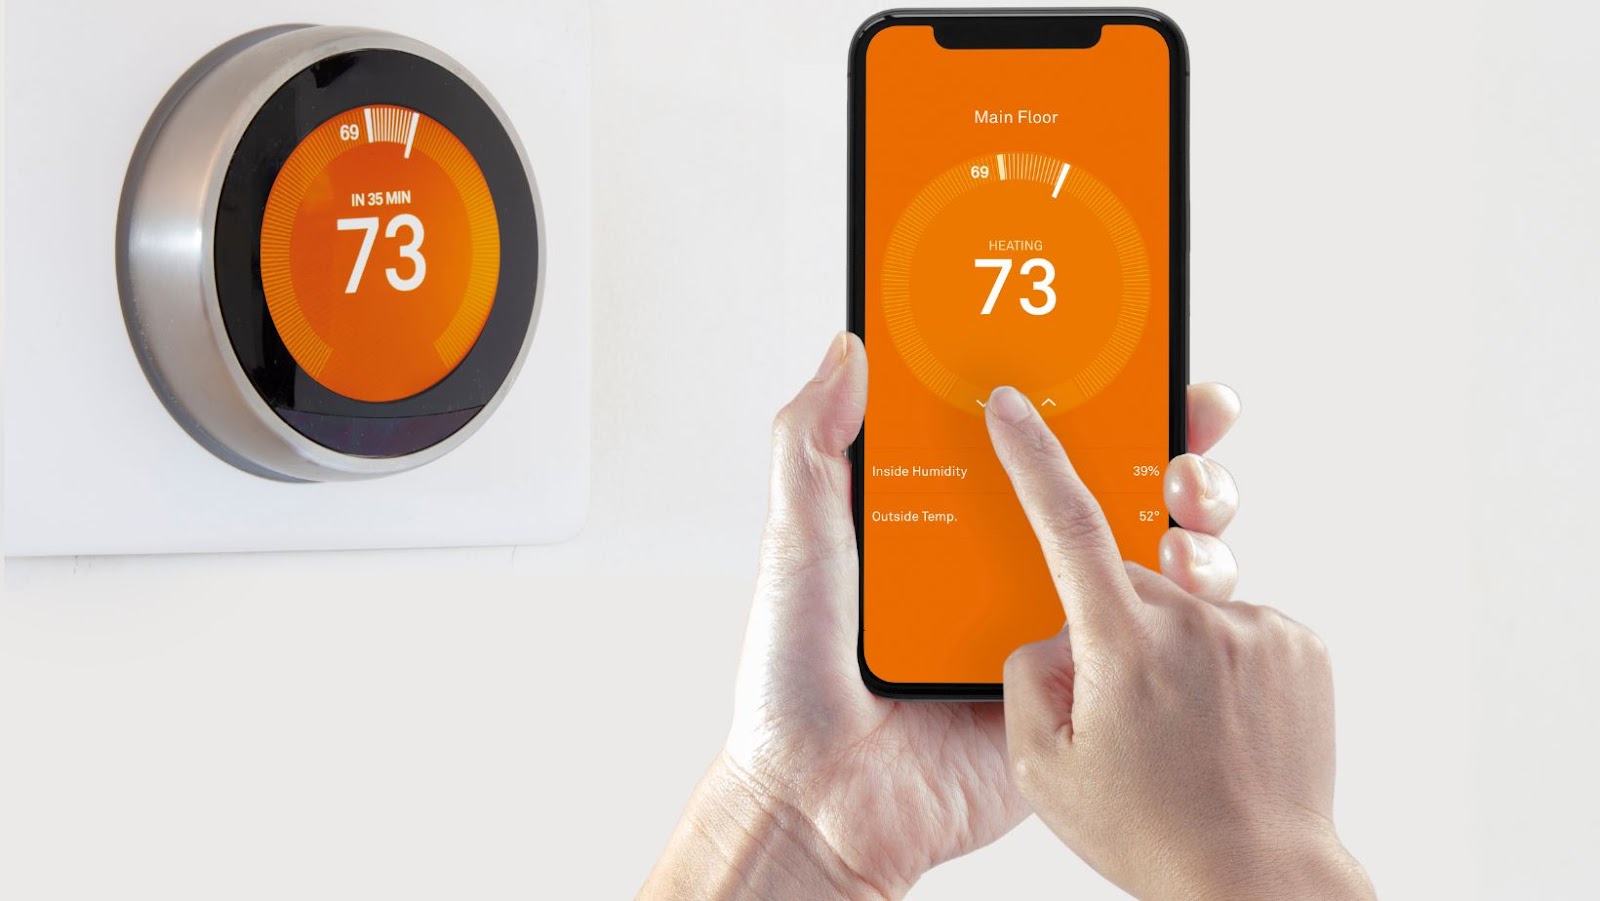
6. Install the App: Download and install the app corresponding to your new thermostat model. Then, follow the instructions to connect the thermostat to your account.
7. Set up Your Preferences: Configure the settings in the app to match your preferences, such as scheduling temperature changes throughout the day, setting vacation modes, and other features that your smart thermostat supports.
Installing a smart thermostat is an easy way to reduce energy bills and increase your home’s comfort level. Following these steps, you can install and set up your new smart thermostat quickly and efficiently.
Conclusion
Installing a smart thermostat is a simple DIY project that can save you money and energy in the long run. As I showed you in the previous steps of this guide, the process is straightforward and doesn’t require special skills or tools. By following how to install a smart thermostat guide, you can enjoy the convenience of remote temperature control and other smart features that come with the thermostat.
To recap, the first step is to turn off power to the HVAC system before removing the old thermostat. Then, you need to identify the wiring and take a picture of the old thermostat’s configuration to match it with the new one. After that, you can mount the new thermostat and connect the wires according to the manufacturer’s instructions. Finally, you must turn on the power and set up the thermostat using the mobile app or web portal.
Remember that the smart thermostat installation process may vary depending on your HVAC system and thermostat model. Therefore, it’s essential to read the installation instructions carefully and consult a professional if you have any doubts or issues. Additionally, test the thermostat and monitor its performance to ensure it’s working correctly and delivering the expected results.
Overall, installing a smart thermostat is an investment that pays off in terms of comfort, convenience, and energy efficiency. By learning how to install a smart thermostat and following the steps I outlined in this guide, you can upgrade your home’s HVAC system and make it smarter and more cost-effective.